Looking for some fun things to do with your kids? Check out some super fun and easy crafts you can do with materials you probably already have in your home!
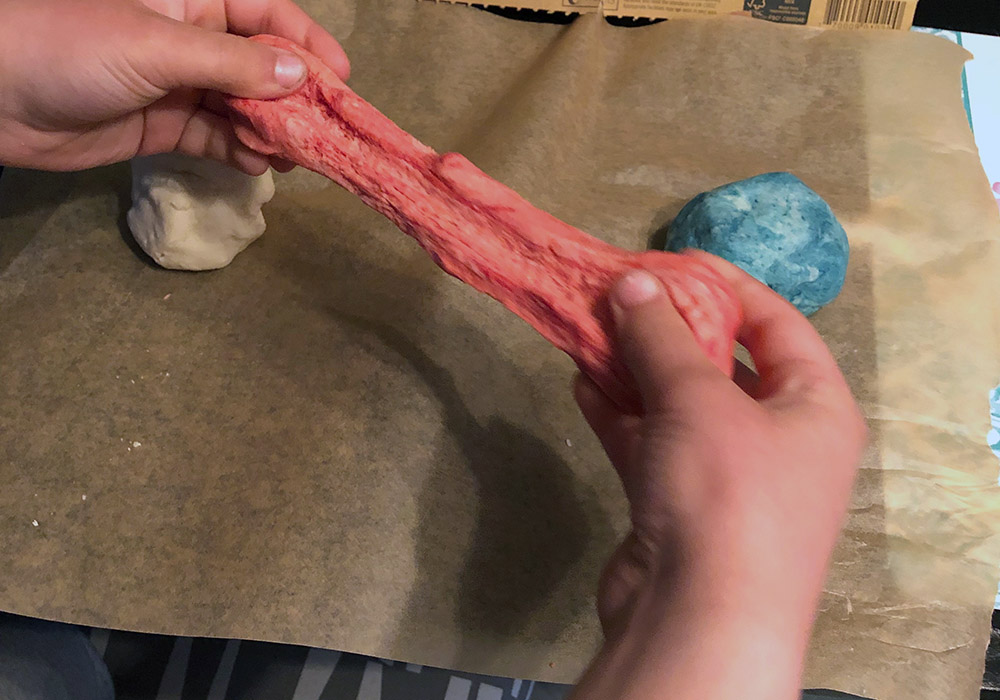
Homemade Playdough!
Materials:

- 1 cup of Flour
- ½ cup of Salt
- ½ cup of Water
- Food Coloring (optional)
Mix the flour and salt together in a bowl. Gradually add in the water, a little at a time.
Mix well. At this point, the dough should start to form.


Once the playdough has formed, you can stop the mixing.
If you’d like to add some food coloring, divide playdough into different portions, and add color. Mix well.

That’s it – you’re done! It’s now time for your child’s imagination to run wild and create whatever they want!


When you are finished playing, store in a Ziploc bag or airtight container, in the fridge, for up to four weeks – it does expire simply because of what it’s made of.
Laundry Basket Skee Ball!
Bring one of the best arcade games straight into your home, with this quick and easy project!
Materials

- 3 laundry baskets
- Material to make a ramp (cardboard/plastic/etc)
- Index cards
- Markers
- Scissors
- Balls
- Tape
Mark on the paper or index cards 100, 200 and 300. Tape to the back of the baskets and line up the baskets, three in a row.


Next, you want to create a ramp. This is where, depending on the materials you use, you may construct differently. In this example, a box was used.
You want to make sure the angle isn’t too high or too low. There may need to be some ‘testing’ to find out what the perfect angel is.
Once the ramp is completed, let the fun begin!

Paper Plate Hat Making!
Who doesn’t like a new hat? Making a paper plate hat lets your child completely customize to whatever they want! Perfect to create on a rainy day, birthday party, holiday…. Really whatever you want!
Materials:

- Paper plates
- Markers / Crayons / Pencils
- Stickers
- Scissors
Have your child draw a design in the middle of the plate. This will be the shape that will get cut out.

The rest of the plate can also be decorated. Especially along the edges, this will be the part that goes over the child’s head.
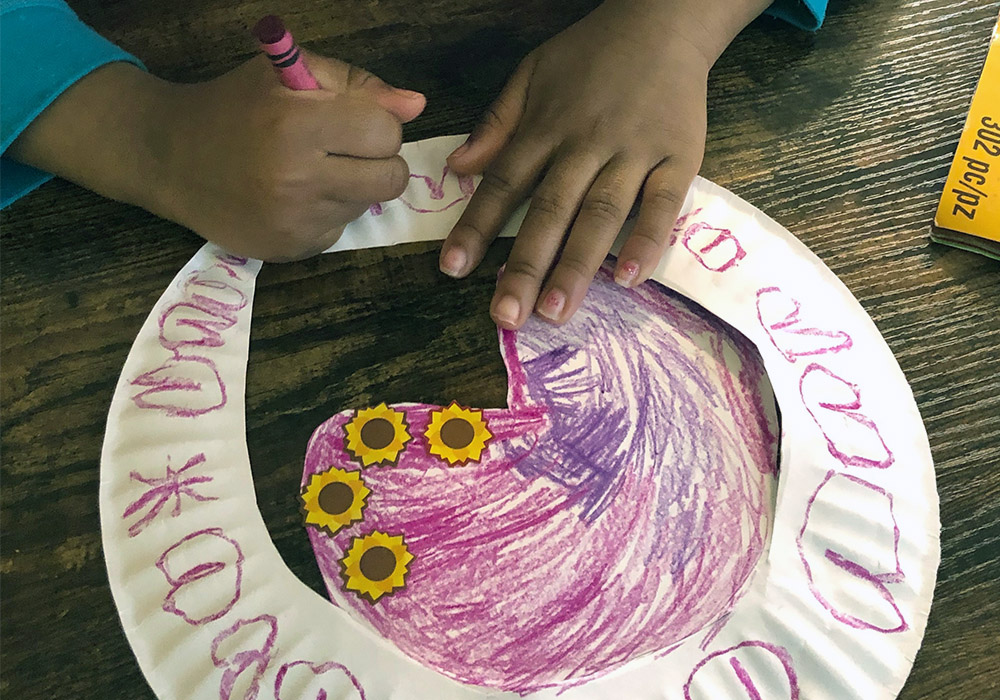

Once it’s all set to their likings, they are all done! Have them out the photo on and snap a photo!
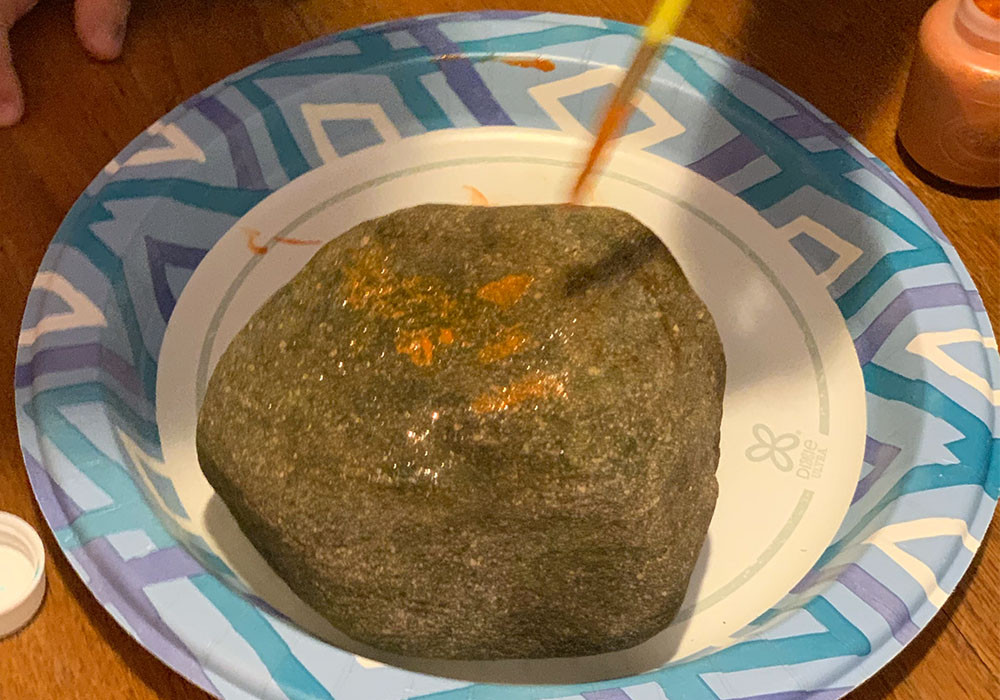
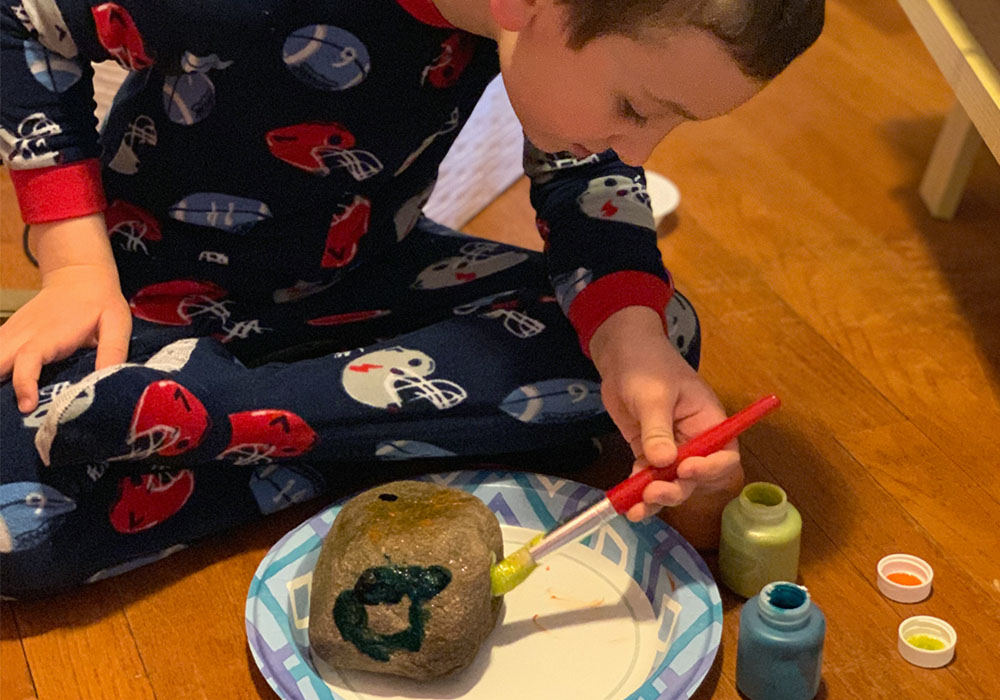
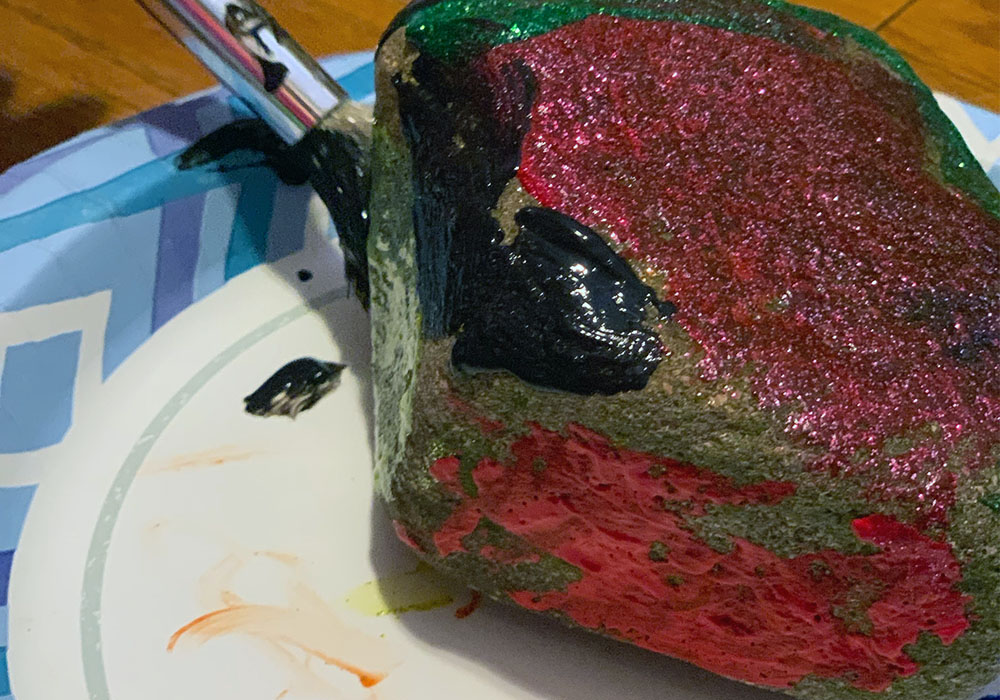
Rock Painting!
That’s right – rock painting! Do you know how much fun this is??!!
Materials:
- Rocks
- Paint (acrylic paint works the best)
- Paintbrush
There are two ways you can go about this project – going outside to find rocks or purchasing them from a local craft store. I prefer finding them outside, it’s like an additional project!
If you get the rock from outside, make sure you wash and dry completely prior to painting. Once it’s dry – you’re good to go! Feel free to be creative, and make the rock your own. Do just colors, write messages on them or even draw different scenes!
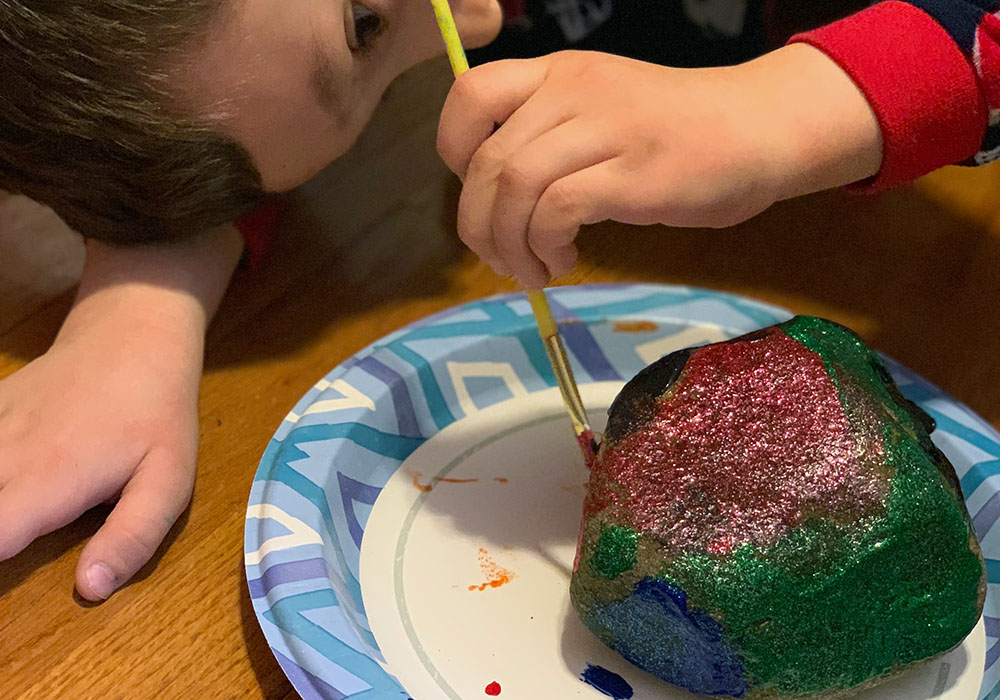
We’d love to see the final projects! Just simply snap a pic, post it on social and tag me, @mybobs for a chance to be featured in my feed!
Comments (2)
Rosesays:
June 12, 2020 at 5:14 pmWhere are Bobs mattresses manufactured
Bobsays:
June 19, 2020 at 1:28 pmHello, Rose.
We have mattress suppliers in the USA, Malaysia, and Vietnam. Feel free to shop my super comfy Bob-O-Pedic mattresses at https://www.mybobs.com/bob-o-pedic.
Best regards,
Bob