Check out these simple tips and learn how to create a hanging planter – a dash of green that adds a bit of liveliness to any space.
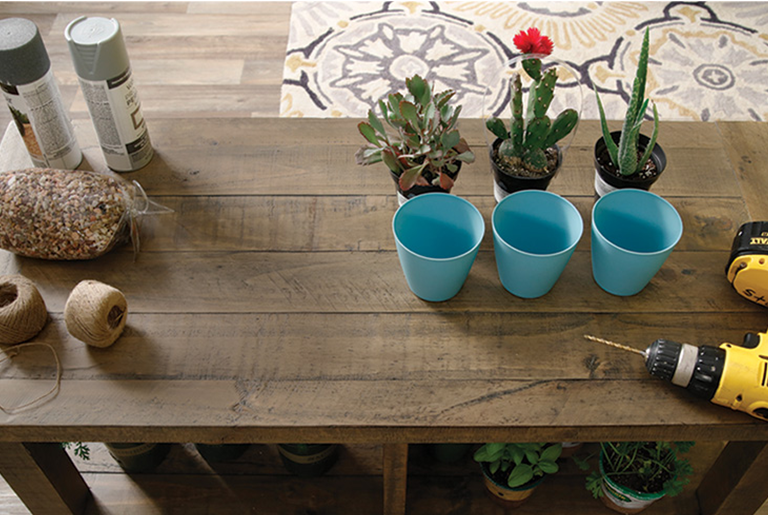
1. Gather Materials
You’ll need just a few inexpensive things like twine and small plastic containers. Don’t forget a bag of pebbles for drainage. Also, make sure you have a drill handy. Paint and other decorations are optional.

2. Drill Some Holes
Drill two small holes in the containers, directly across from each other. Place the holes near the top of the container, leaving roughly half an inch from the rim so you don’t cause a crack when drilling. This is looking great!

3. Paint The Containers
You can spray paint the containers if you wish. How about red and yellow – or perhaps something to compliment your existing color palette? Allow plenty of time to dry before moving on to the next step, otherwise, things could get messy!

4. String Containers Together
Start with the bottom container and tie one string on each side, secure with a double knot. Determine the gap between the bottom and the next container and string the twine through the holes, tying knots as you go.

5. Add Your Plants
Put a handful of pebbles at the bottom of the container for drainage. Next, place your plants in the containers. Purchase plants in smaller containers that will fit within the hanging container so you don’t have to transfer the plant.

6. Hang Your Planter
Find a secure area to attach the strings such as a curtain rod, hooks installed in your ceiling or nails above the window. Enjoy your new hanging planters and share a picture of your final product using #mybobs.
