
Looking to create something new this year for your tree? Look no further, here is a simple DIY Christmas ornament for you! The best part is, you can customize it however you like – making it the perfect must-have this holiday season!
Step 1. Materials
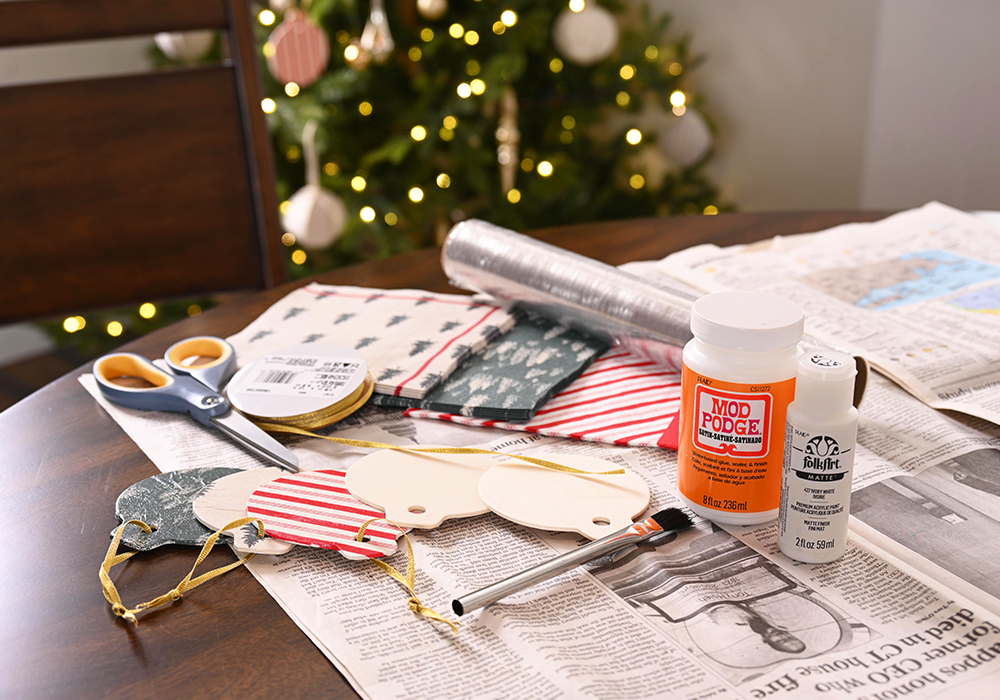
- Napkins
- Mod Podge
- Wooden disc
- This can really be anything from your local craft store. If it doesn’t already have a hole for hanging, you can very easily drill one
- Saran wrap
- Ribbon
- Your choice of color, texture, size etc
- Brushes
- Paint (optional – you can paint the wooden disc before hand to slighly alter the background color)
Step 2. Separate The Napkins
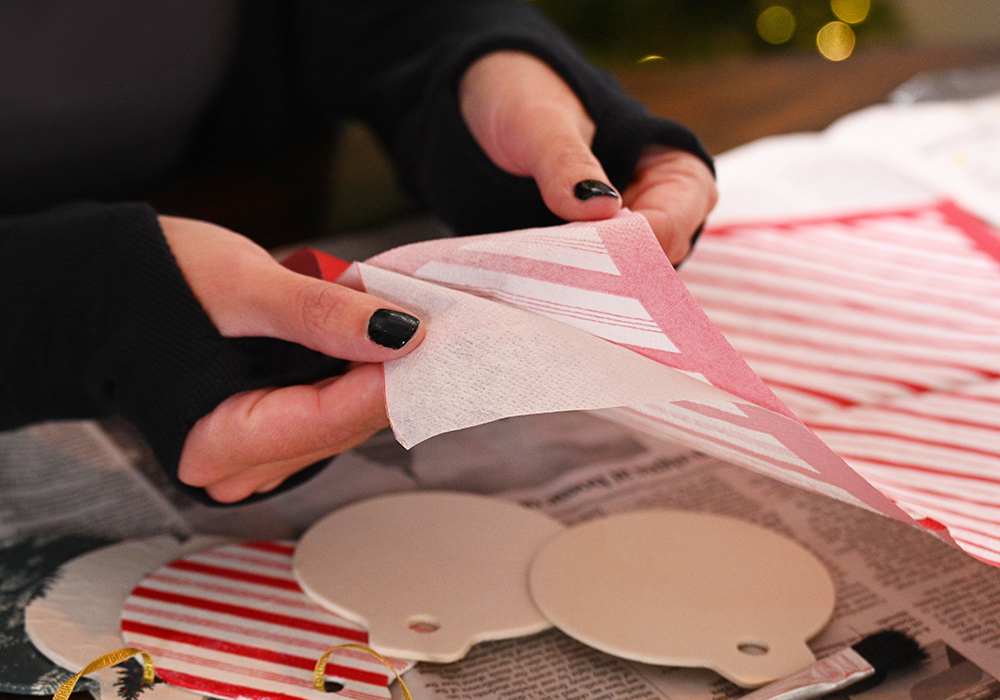
Depending on the type of napkin that you selected, will determine how many layers you need to take off. Typically most are one or two. You want to make sure that the printed part that is left, is only one layer. In other words, it’s going to be super thin!
Step 3. Cut Down the Napkin
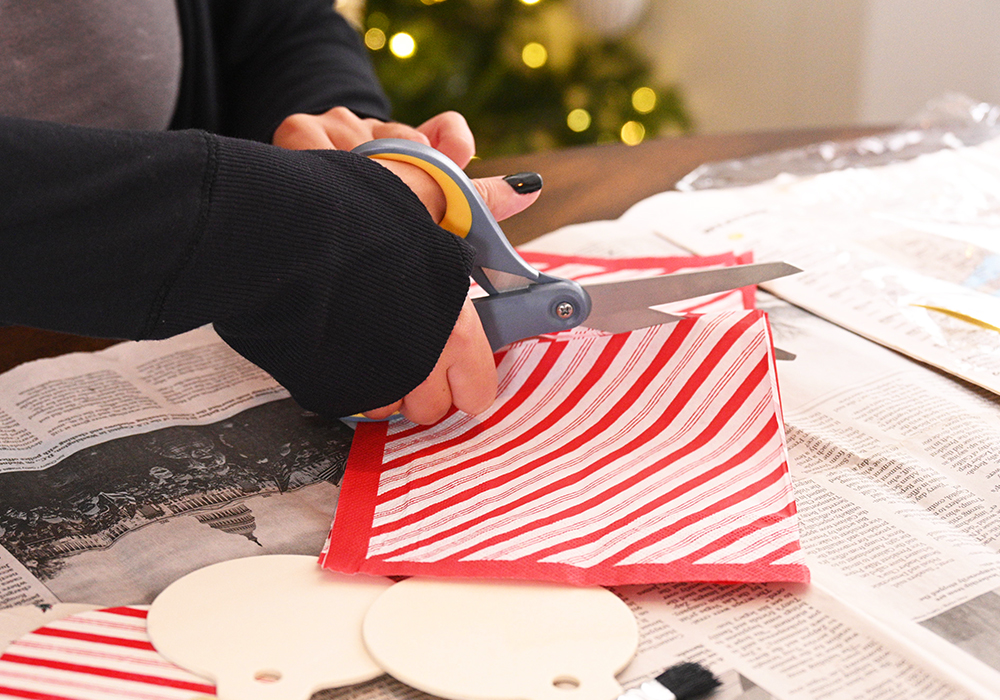
Here you can trim down the napkin smaller, just so it’s easier to work with. Make sure it’s still big enough to go over the wooden discs that you have.
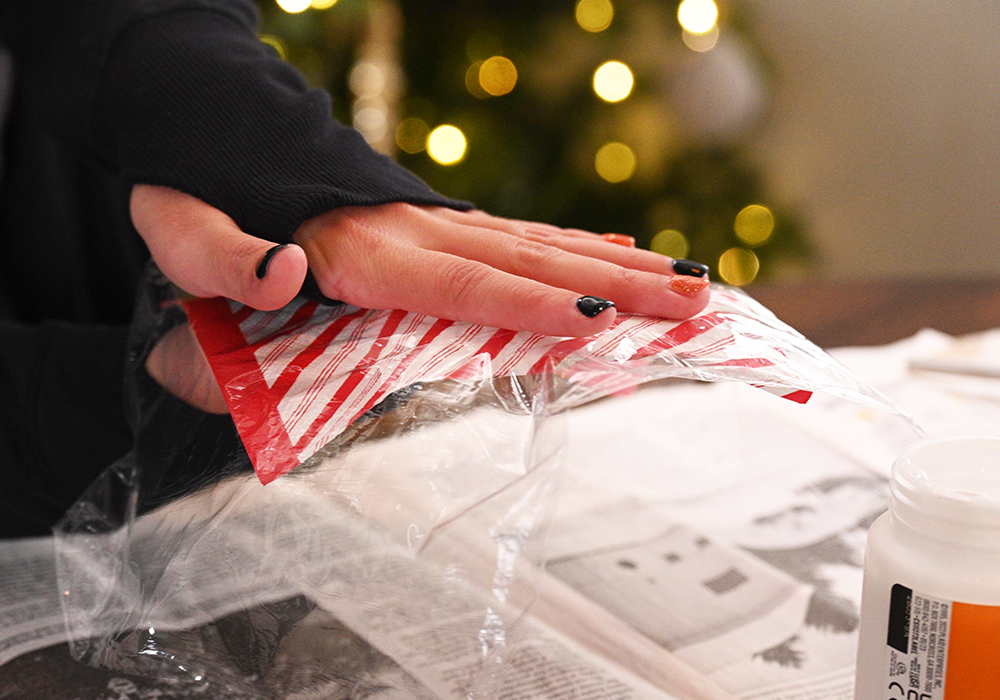
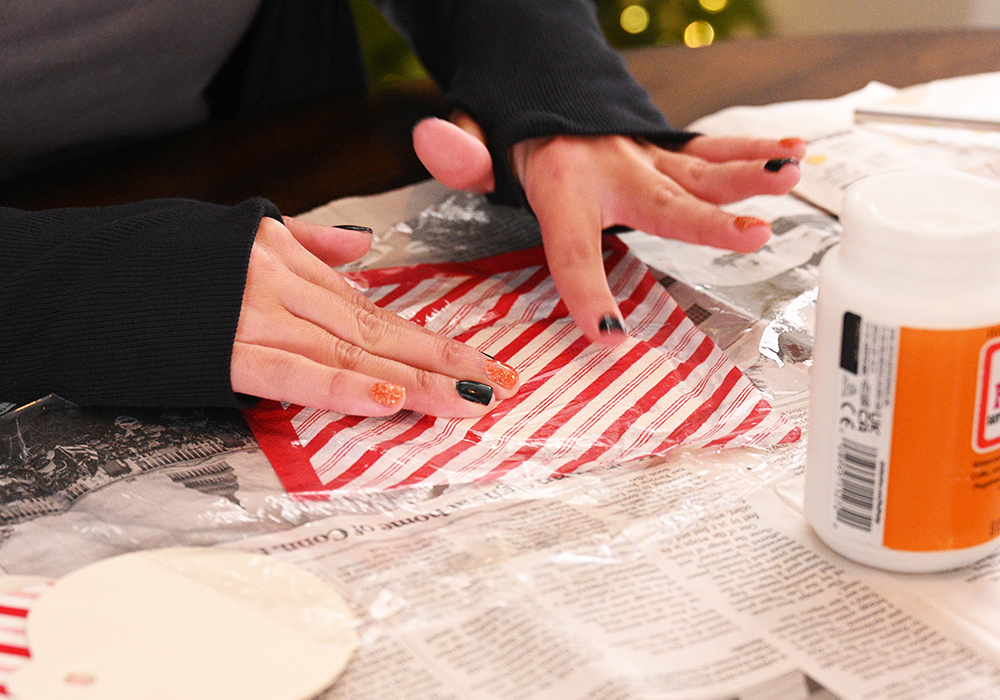
Step 4. Apply the Mod Podge
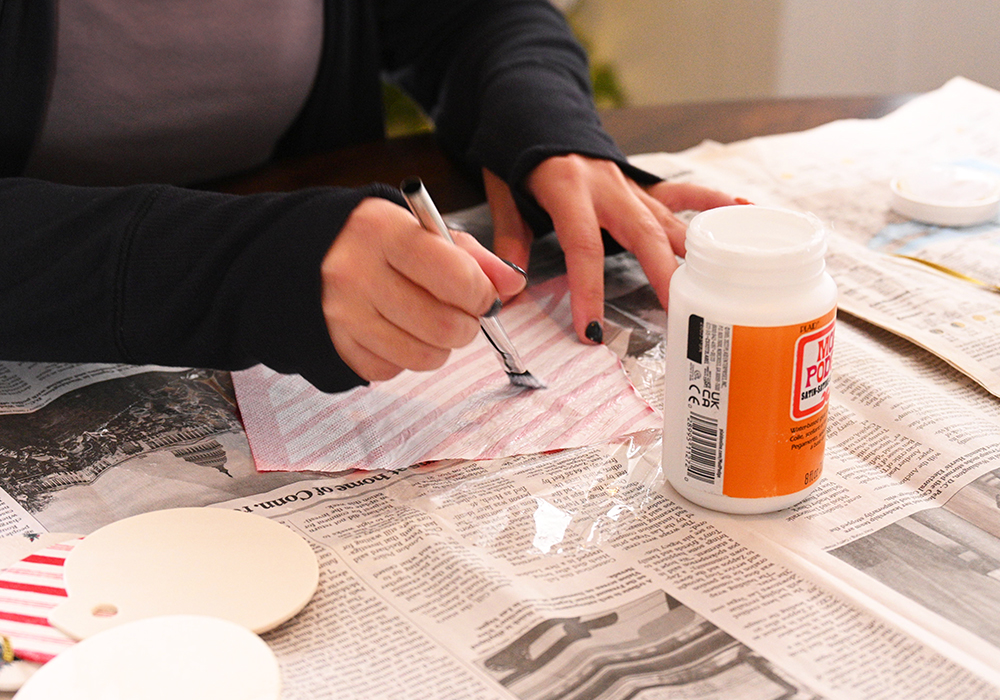
Before applying, you want to lay a piece of saran wrap under the napkin. Once you’ve done that, you then apply a thin layer to the back (non-print) side of the napkin. You need to make sure that you’re careful on this step… since it’s down to the one ply, and you’re adding glue to it – it can tear very easily. I won’t even tell you how many I went through on this step!
Step 5. Wood Placement
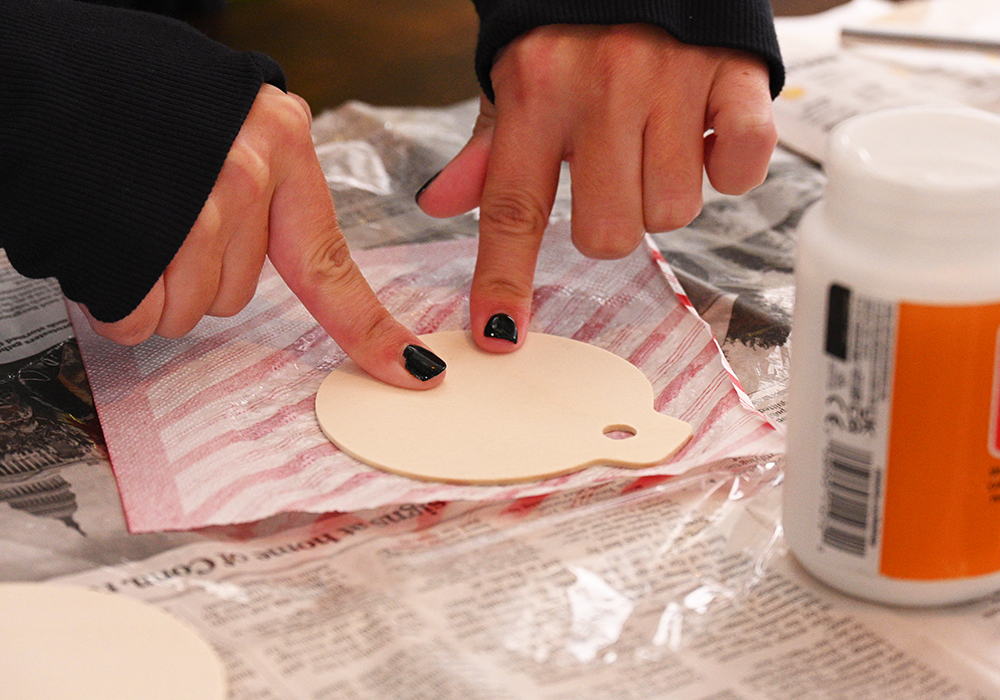
After you’ve applied the Mod Podge, you want to place the piece of wood directly onto the wooden disc. After you have it in place, very carefully you want to flip it over.
Step 6. Smooth it out
Very lightly, you want to smooth out the napkin the best you can. Make sure you are smoothing out where the saran wrap lays. Having the saran wrap over it, makes it easier to smooth and less likely to rip the napkin or make holes.
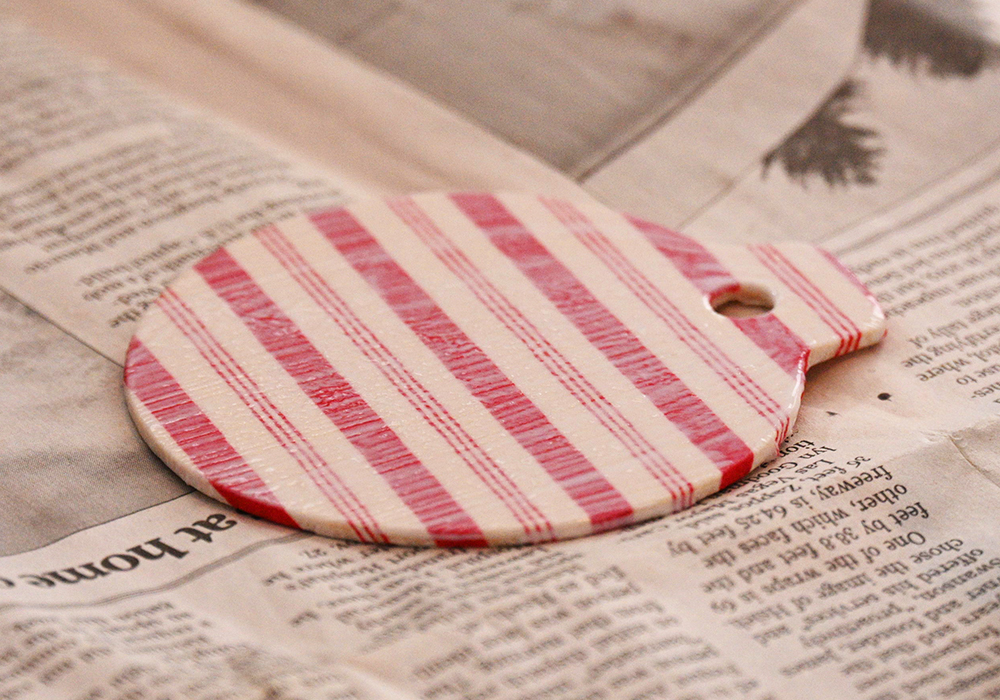
Step 7. Rip the Edges
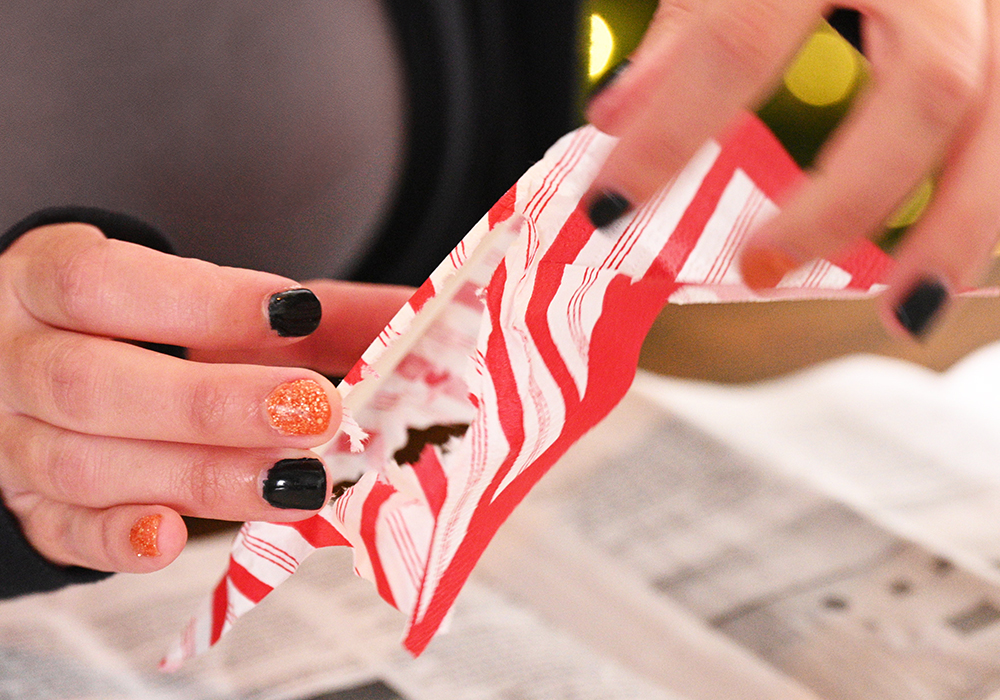
While the edges are still a little wet, you can rip around the edges, and tear off the excess areas that are not needed. You can also use a nail file, and go around the edges to get it nice and clean! Either way works perfectly fine.
Step 8. Adding Mod Podge to the top
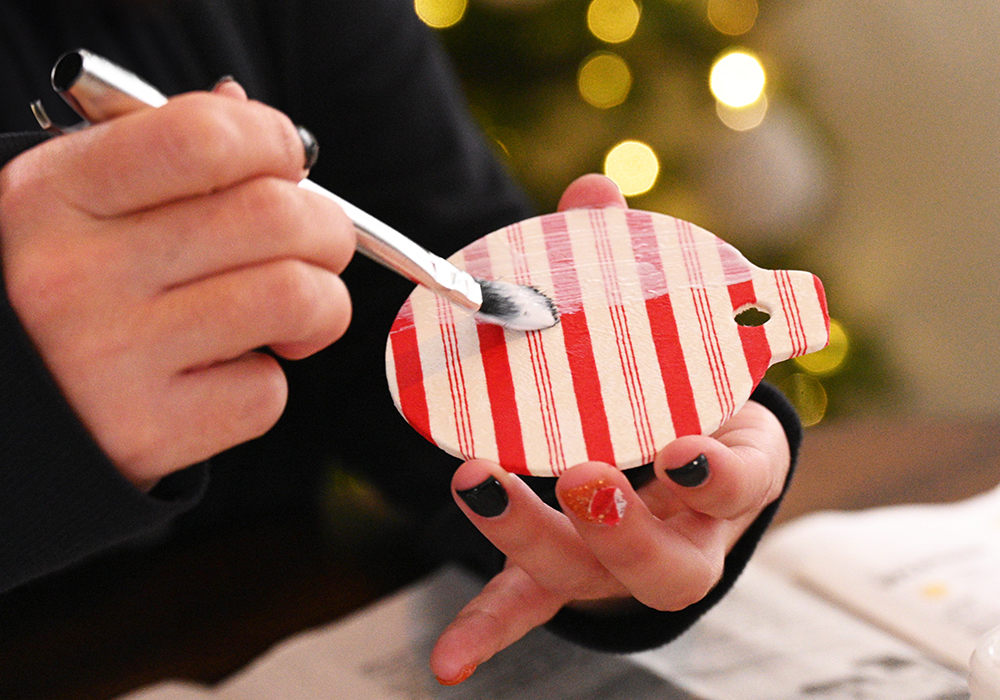
After the edges are clean, you want to add another layer of Mod Podge to the top. Again, you want to stick to a nice thin layer – still being cautious that you don’t rip it. I promise you, it dries clear 🙂 Once you are all set with that, lay them down on a flat surface and let dry. This can take up to a few hours to be completely dry.
Step 9. Adding the Ribbon
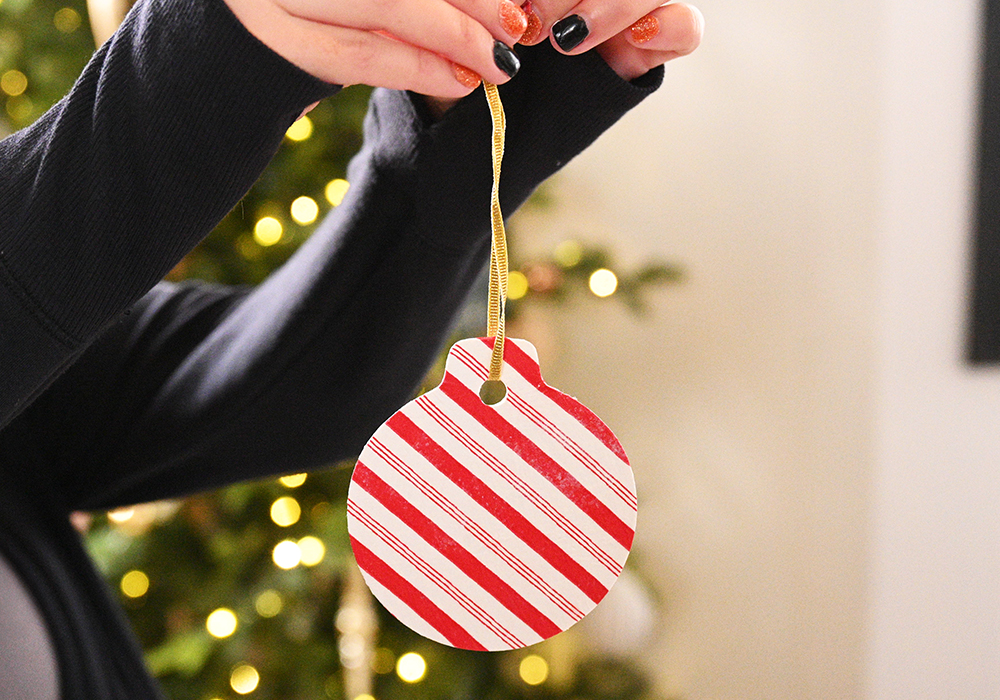
Once it’s fully dry, you can now add your ribbon! Once you tie it up, hang it up on the tree and enjoy!
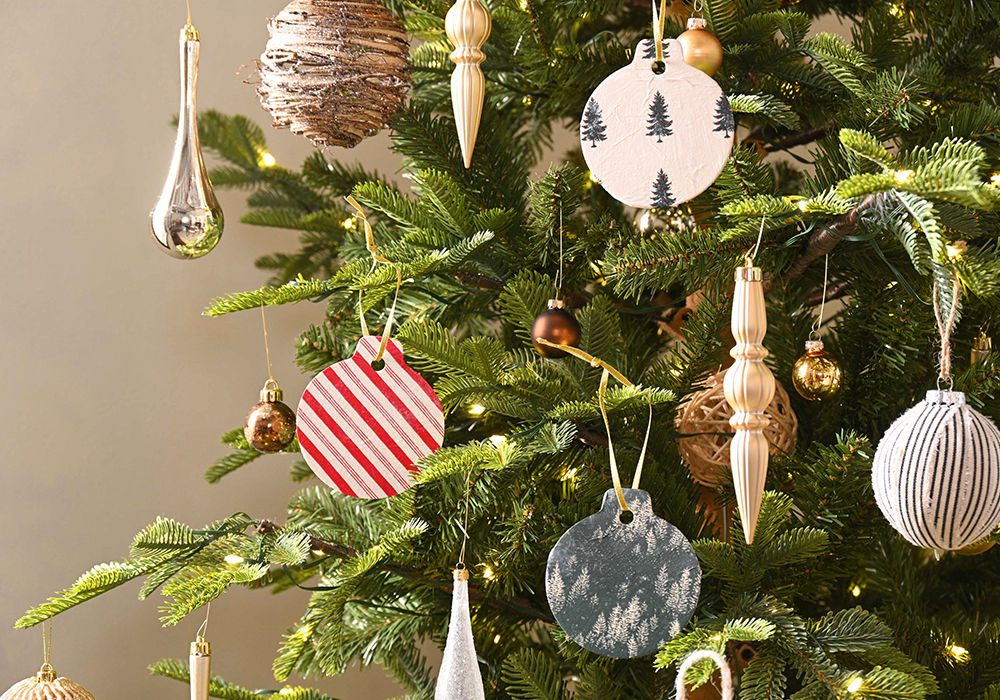
Create your own version and don’t forget to tag us on social media @mybobs!