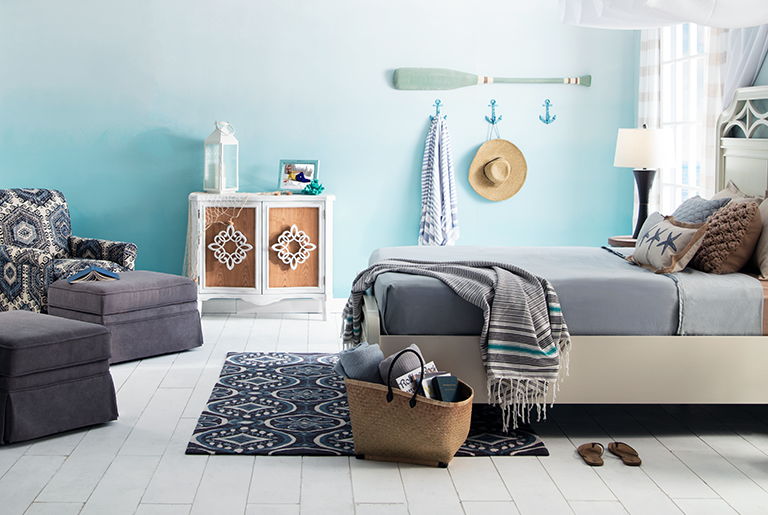
So even if you’re still debating with your friends about the correct pronunciation of ombre, you’ll both agree on this – it looks good. Here are six easy steps to create your own ombre look at home.
Supplies Needed
1. Measure and Mark your Wall
Select a wall in your space that will be the focal point of the room and mark off the points where you want to blend your colors. Your vertical measurements and blend points do not have to be exact.
Pro Tip: Use a pencil to mark your walls so it won’t show through on the finished product.
2. Select your Color Palette
Choose two or three colors that are closely related and gather your materials. You will want to choose a light, medium and dark color. This will help create a more natural look on your blend points.
Pro Tip: Gather multiple paint trays and brushes so you can mix colors.
3. Apply your First Color
For a tri-color look, start in the middle of the wall and apply the paint with a roller. Make multiple passes over this area with the roller to ensure that paint is evenly applied.
4. Mix your Colors
Use a paintbrush to mix in some of the lighter color paint in the same tray that your medium color paint is in. Don’t over pour the lighter paint, you can always add more to reach your desired color.
5. Blend Colors
Using a dry brush, apply the blended paint to the top third of your medium paint area with crisscross strokes. Next, gradually work your way up to the top of the wall as you continue to blend the lighter and medium colors.
Pro Tip: Dip a dry brush in the solid paint to help with blending.
6. Finish the Look
After you have the desired blend on the top two-thirds of the wall, mix some of the dark paint with your medium paint. Using a brush, apply the blended paint to the boundary lines between the middle and bottom thirds. Continue to blend the paint until you reach the bottom of the wall.
Sit back, enjoy and don’t forget to share a photo of your ombre wall using the hashtag #mybobs.


