
Add a fun and festive touch to your dining room table with these adorable ornament name card holders. This project is super easy to complete, only takes about an hour and costs around $20. You can save some money by using ornaments that you already have.
Your guests will love the personal touch and the time you took to create these cute name card holders!
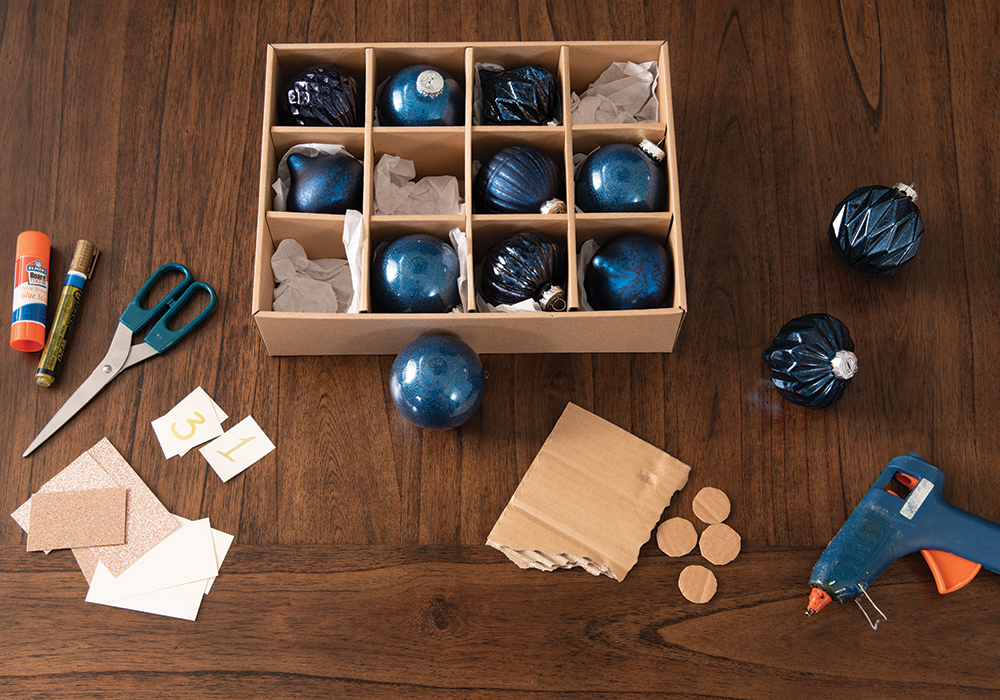
Step 1: Gather Your Supplies

Begin by gathering all your supplies on your workspace. Check out the handy list below so you know what you’ll need from home and what to purchase at your local craft store.
What You’ll Need
- Holiday ornaments
- Hot glue gun
- Scissors
- Glue stick
- Marker
- White card stock
- Colored card stock
- Small piece of cardboard
- Festive music in the background!
Step 2: Create a Base for the Ornament

The first step is to create a level base for the ornament to rest on. Just find a smaller piece of cardboard on the thinner side and cut out a small circle. You can use a quarter as a guide to help you get the correct size. You’ll also want to plug in your hot glue gun at this point so it’s warmed up by the time you’re ready for the next step.
Step 3: Attach Ornament to Base

Next, add a small dab of glue to the cardboard circle and attach your ornament. Hold firmly for a minute before letting go.
Step 4: Prepare the Cards & Write the Names

Start by taking one piece of the white card stock and measure out 3″ by 5″ rectangles. These will become the main backing card that you will attach to the ornament. After you cut out the rectangles, you will then create a fold in the middle.
Next, cut the cards that will go on top of the main backing card. I used white card stock and color paper. I recommend cutting the bigger card that will go in the back (gold color in photo) to the size of a business card and the white card slightly smaller. Then use the glue stick to attach the white card to your backing card (color card).
Before you start writing names, I recommend using a separate piece of paper to practice writing names. Once you’re satisfied with the look (and spelling) of your guests, start writing their names on the white cards.
Step 5: Attach Name Card to Card Stock

Use the glue gun and place a small touch of glue on the plain white name cards. Then attach your color card with the name card on it.
Step 6: Place Name Card on Ornament

Add a small spot of glue near the opening of the 3″ x 5″ rectangles that you cut out. You’ll want to make sure the glue is in the center, as this is where you’ll secure the card to the ornament.

Finally, with the name card still slightly open, slide this over the top of the wire loop on ornament and press firmly. Great job!
Step 7: Set the Table

Now you have a fun and festive name card holder. Feel free to add small accents around the base to create an even bigger wow factor!
Bonus Idea – Table Numbers!

If you’re hosting a large event with multiple tables, you can repeat the steps above and create table numbers.
Share Pictures of Your Ornament Name Cards
I’d love to see your take on my Holiday Ornament Name Card DIY. Just snap a picture, share on social and tag me @mybobs for a chance to be featured on my feed!