One of the current most popular trends in home decor is bringing artisan pieces into your home. I’m here to show you how to achieve the look for less – that’s my motto! The artisan vases you see around can be very expensive. With a little bit of work, and by work I mean fun DIY, and a few inexpensive materials, you’ll have yourself a vase that looks just like a handcrafted artisan pottery piece! This technique is easy enough that you can even include your family if you want to transform more than one vase. So put your creative pants on, gather your family (or don’t), pour yourself a glass of wine, and grab your favorite snack – turn this into a fun paint night!
Gather your materials:
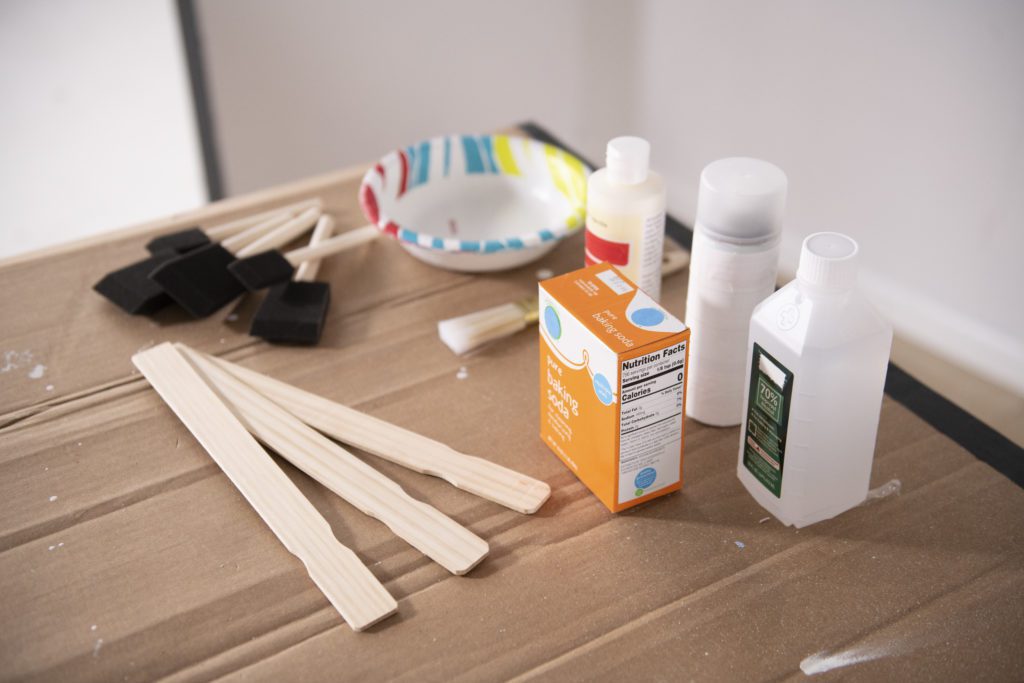
- Thrifted or old vases from your home. These can be glass or of any color, and preferably not textured, since you will be adding in the texture. Go with a vase that you like the silhouette of!
- Rubbing alcohol and paper towels
- Water based paint (latex paint) or craft store paint – you can use any off white color you’d like. I used Vanilla!
- Baking soda – this may seem out of place, but trust me, it’s all about the texture
- Paint stirrer
- Mixing bowl
- Small paint brush or foam brush
- Newspaper, cardboard, or a drop cloth
1. But first, alcohol! (Not the kind you drink)
Before you begin painting your vase, you will want to get it clean so that your paint adheres better. Pour some rubbing alcohol onto a paper towel and wipe your vase clean. If there’s any glue residue from price stickers, make sure to scrub that off as well. Once you’ve got a clean vase, you may begin! Lay down your newspaper or drop cloth base and let’s get started!
2. A little bit of this, a little bit of that
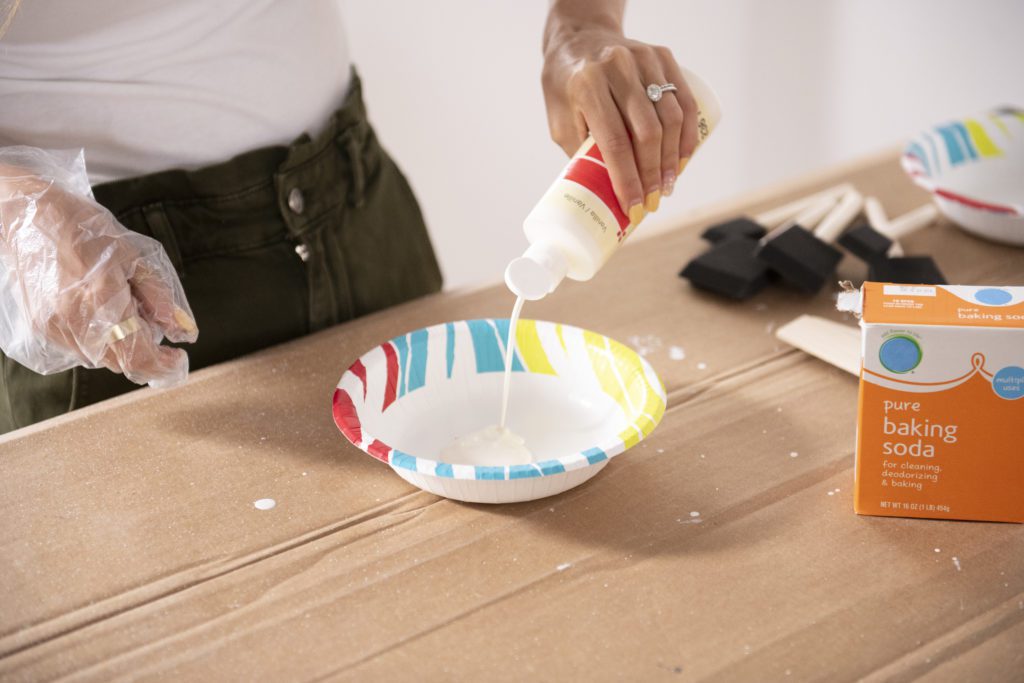
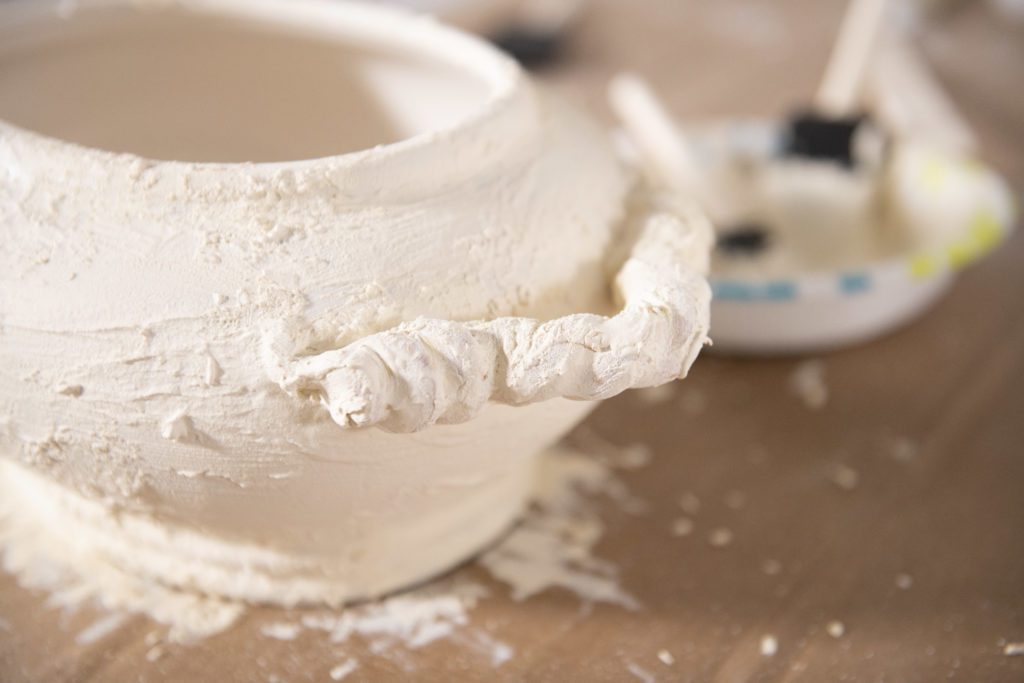
Place your vase aside and begin the mixing! Pour a little bit of paint into the bowl followed by a little bit of baking soda. As a general rule to make this textured paint mix 5 parts paint to 1 part baking soda. But if you are like me I just poured some paint in a bowl and added baking soda to it, simply just eyeballing it.
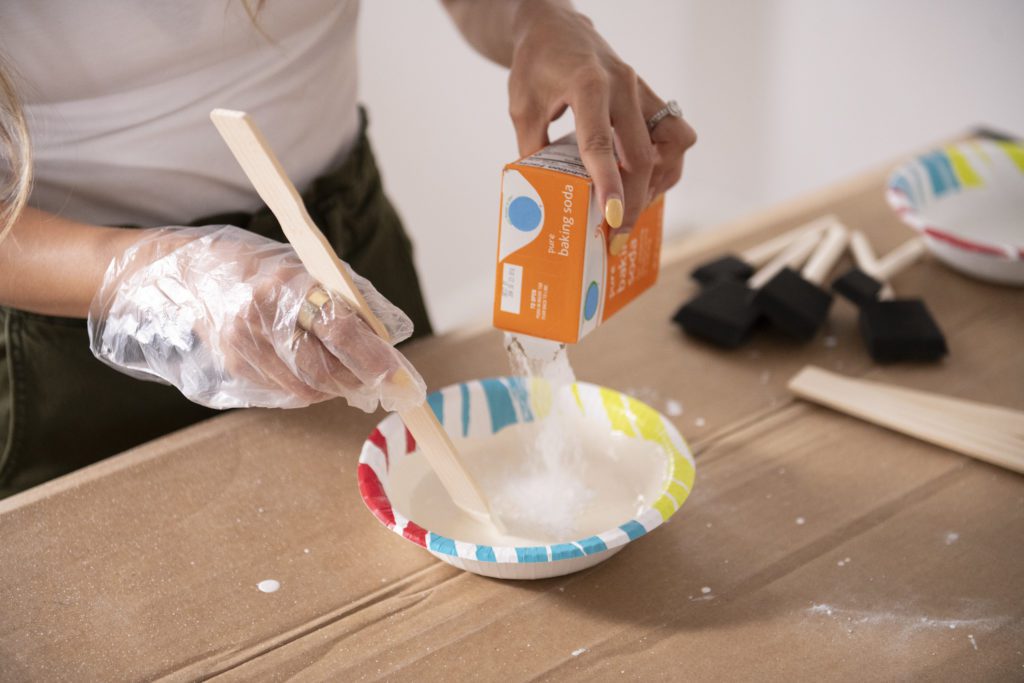
The more baking soda you add, the more texture there will be. With your paint stirrer, mix, mix, mix! The key is to get a consistency that isn’t so liquidy, that you won’t achieve any texture, or a consistency that’s too dry where it’ll just clump on and crack right off. A thick paste is what you should aim for! The best part is, if you start painting and realize it’s not the right thickness, you can easily re-mix, and paint right over it!
3. Get to painting
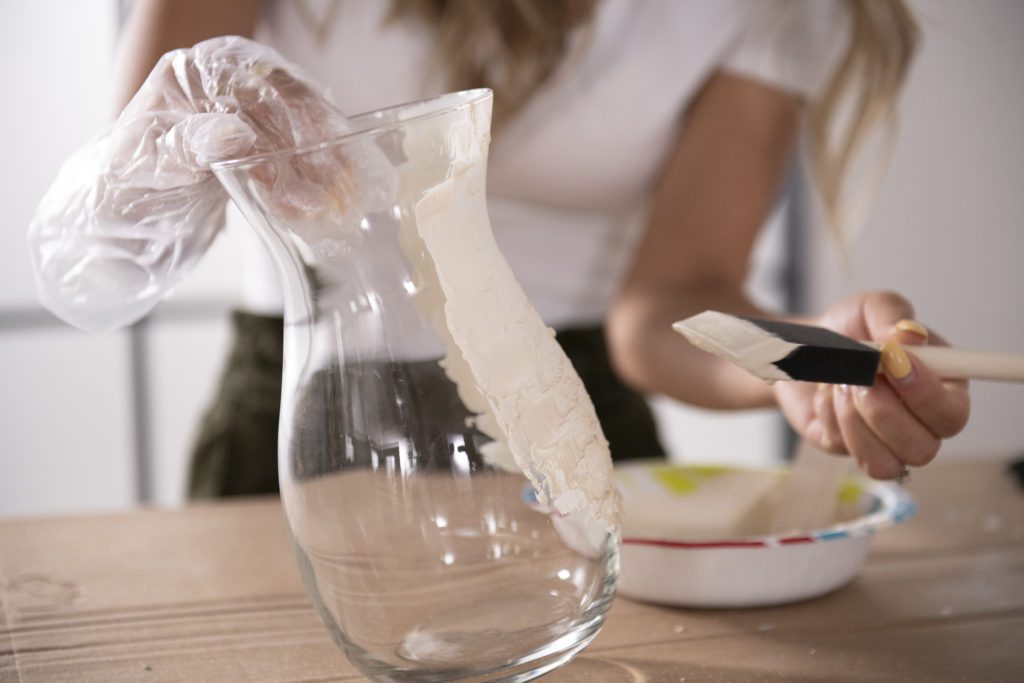
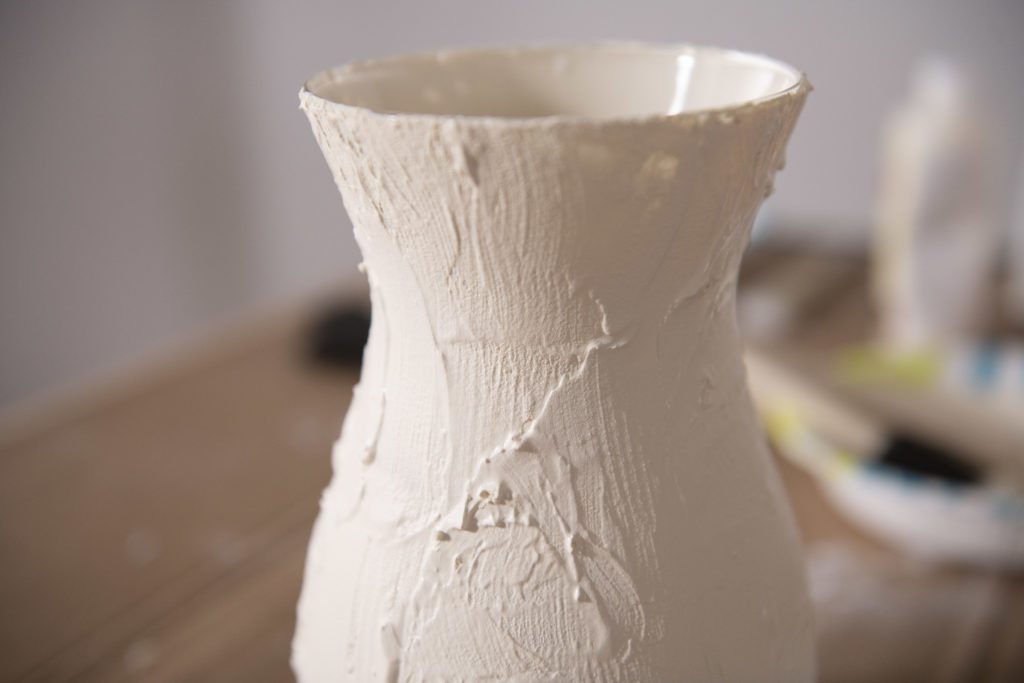
Grab your paint brush or foam brush and begin painting. There is no right or wrong way to go about your brush strokes. It’s all about preference! You can do vertical strokes, horizontal strokes, or circular strokes! The beauty of art is all of the imperfections and uniqueness!
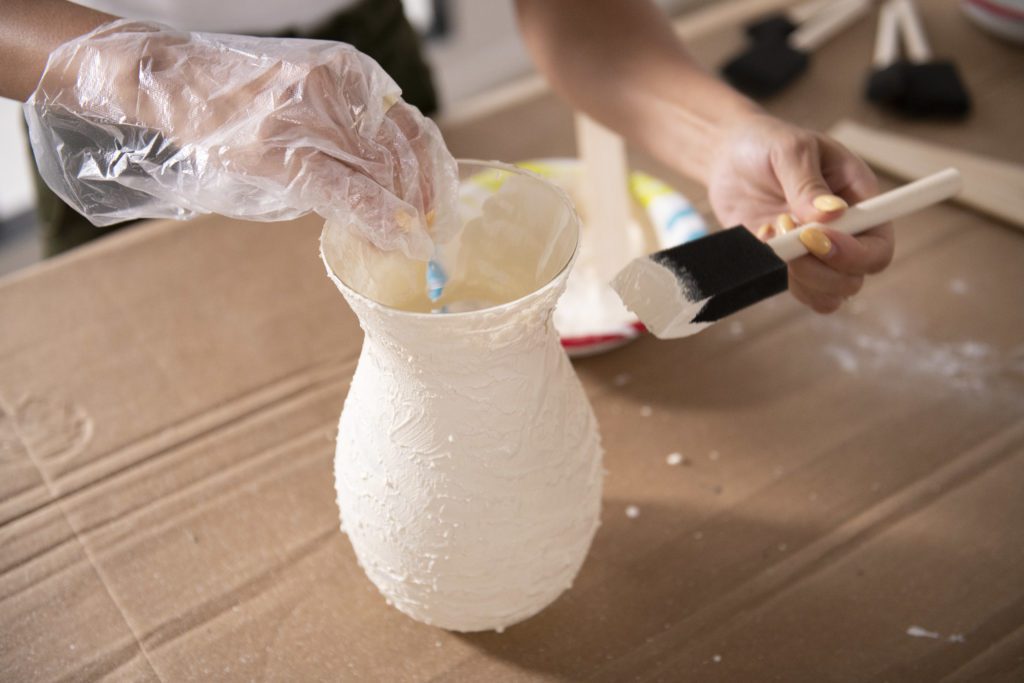
You’ll know you have the right consistency if you see a thick texture where the brush strokes show and bubbles begin to form. You may want to let your first layer dry, then apply a second layer by dabbing the paint on to add more texture. Once you’re happy with the outcome, let it dry!
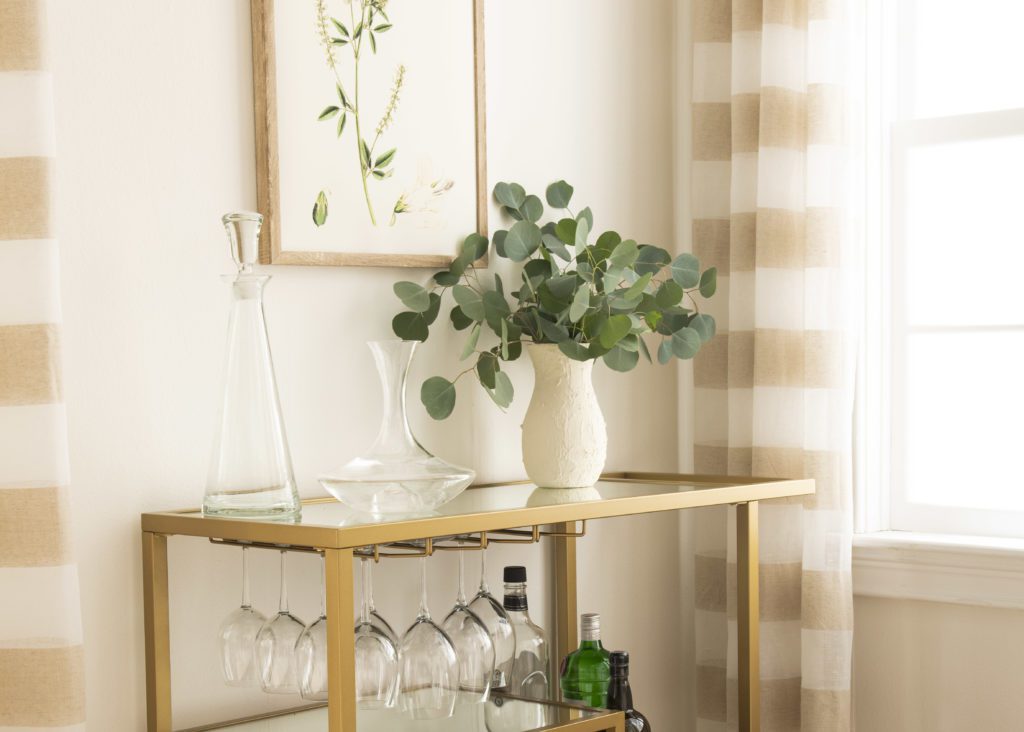
4. Style your creation!
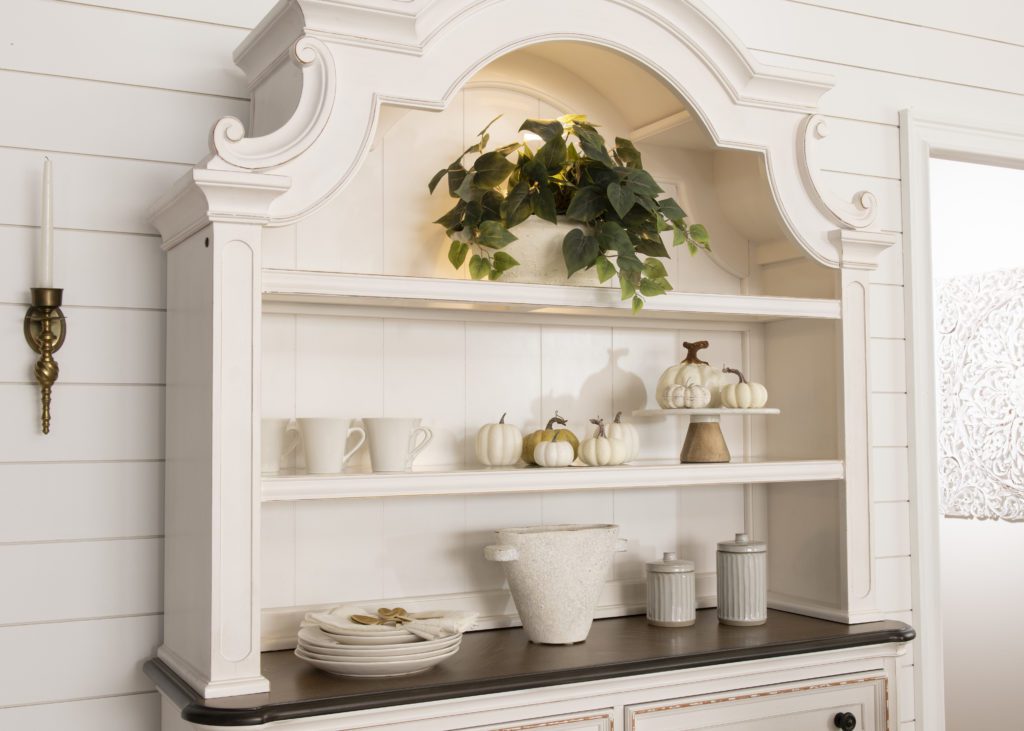
Now that your vase is done and b-e-a-utified, it’s time to style it in your home! Place it on a bookcase, mantel, bar cart, dining or coffee table. With or without greenery! Eucalyptus and pampas are my personal favorite, but you can style it whichever way you’d like!
I hope you enjoyed this fun DIY. Show us your styled vases by tagging us @mybobs or #mybobs on our social channels!