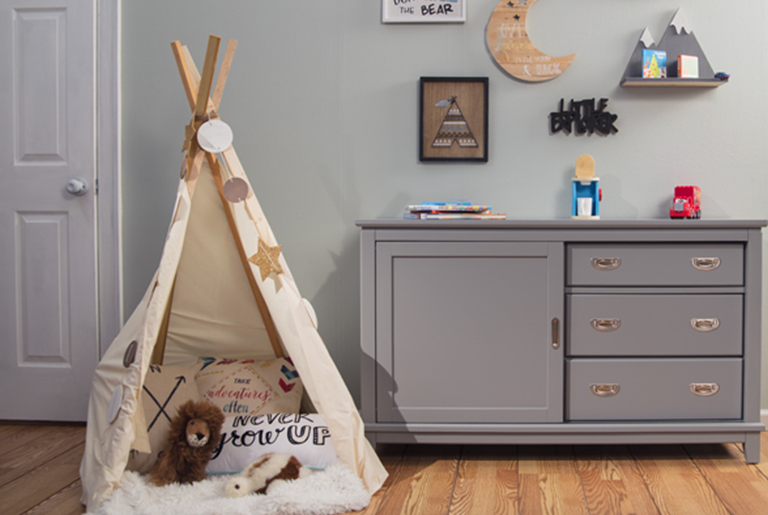
Create a fun little hideaway in your children’s room with their very own teepee. It’s super easy to build and your kids will just love playing in it!

Supplies Needed
– 4 pieces of wood cut 5’-6’ in length
– twine, yarn, or rope
– canvas drop cloth – color of your choice! (5’ – 6’ x 9’)
– hammer & nail
– (optional) gather pillows, accent décor for the outside, lights, mini rug
1. Plan out the teepee

Hold your pieces of wood together in the way that you want them to form the teepee. Wrap the rope around the thinnest part of the four pieces where they intersect. Wrap around multiple times until you feel it is secure enough.
2. Add the cloth

Start the cloth on the right side of the teepee and then wrap it around the back of it. Take the excess cloth and tuck it in the side. Secure the cloth to the wood pieces in the back with a hammer and nails.
3. Have some fun!

Add your own pizzazz! For this one I used a small furry circle rug, some accent pillows, and a star and circle garland to drape over the top. Wa-la you have your own personalized DIY teepee! Fill it with stuffed animals or books and have your kid take a snooze or do some reading!
Share your teepee!
I’d love to see your teepee! Snap a pic of your creation, share it on Instagram and tag us @mybobs for a chance to be featured on this page and in my feed!
