Pumpkins. I can think of no other fruit (yes, pumpkins are a fruit!) that has the honor of being an icon of not one, but TWO fabulous fall holidays (fall-idays?). From mid-August through Thanksgiving pumpkins are everywhere! Coffee, beer, cereal, soap, and of course, home decor! Love them or hate them, pumpkins have true staying power. And, since pumpkins are my personal favorite part of fall, this super easy DIY will supply you with plenty of pumpkin vibes and some new decor to use for years to come. So pour yourself a pumpkin beverage of your choice, turn on your go-to Halloween movie, and gather your materials to set the mood!
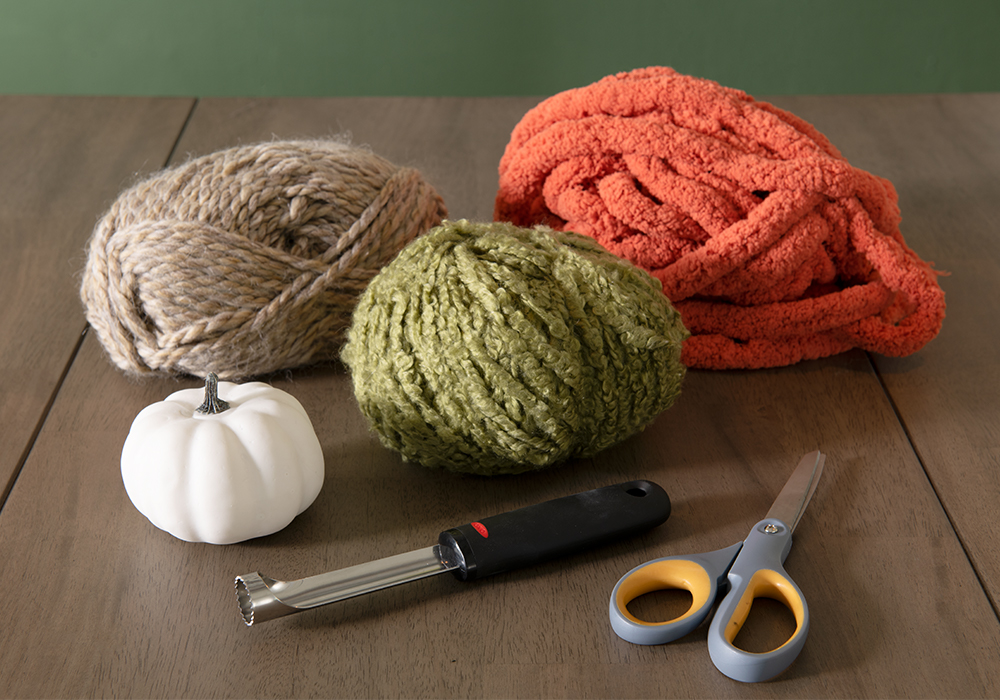
What you’ll need:
- Foam pumpkins in assorted sizes (you can usually find these at your local dollar stores)
- Your favorite yarns in a variety of weights, colors, and textures
- An apple corer & scissors
- Optional: A plastic weaving needle
Step 1: Gourd Ready
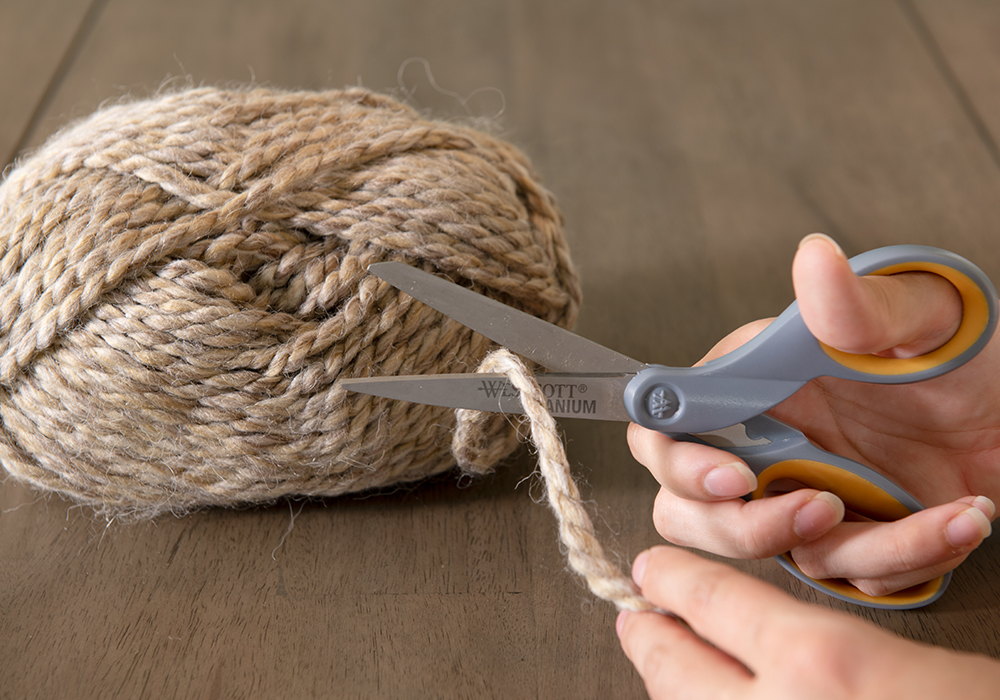
The very first thing you will need for this project is yarn! The heavier the weight, the less wrapping you’ll have to do and the less length you’ll need. If you’re making more than one pumpkin, try a couple different weights to add some fun textures to your assortment. Once you have picked out your perfect yarn, cut a long strand to start with. There’s no right or wrong length, especially since the weight of the yarn and size of the pumpkin will call for different amounts. Plus, if you didn’t cut enough, you can always cut additional strands without compromising the project! Whatever length you choose, make sure you have plenty to work with, but not so much that it’s unmanageable.
Step 2: Carve Out Some Fun
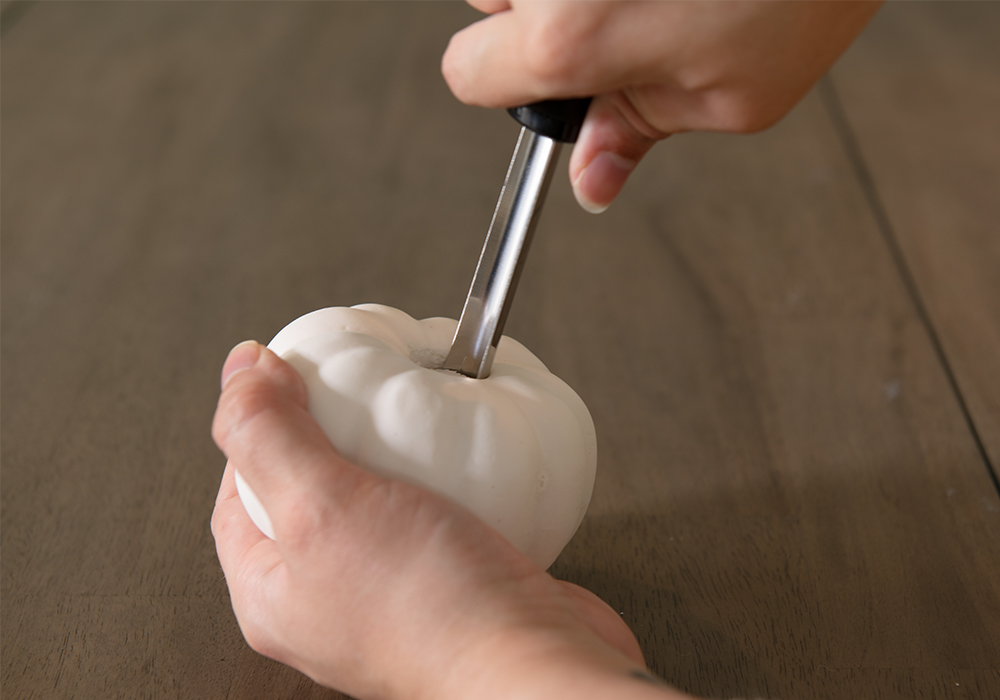
Next up–pick your pumpkin! The stem of your pumpkin should pop right out. Remove it, and set aside. If you weren’t able to find any good branches, you can reuse this for your stem at the end. The last step of preparation is to use your apple corer and press a hole through the center of the pumpkin. Don’t worry if it’s not pretty–your yarn will cover it! Using a larger pumpkin or a heavier weight yarn will mean coring out a little more, or making the hole a little wider.
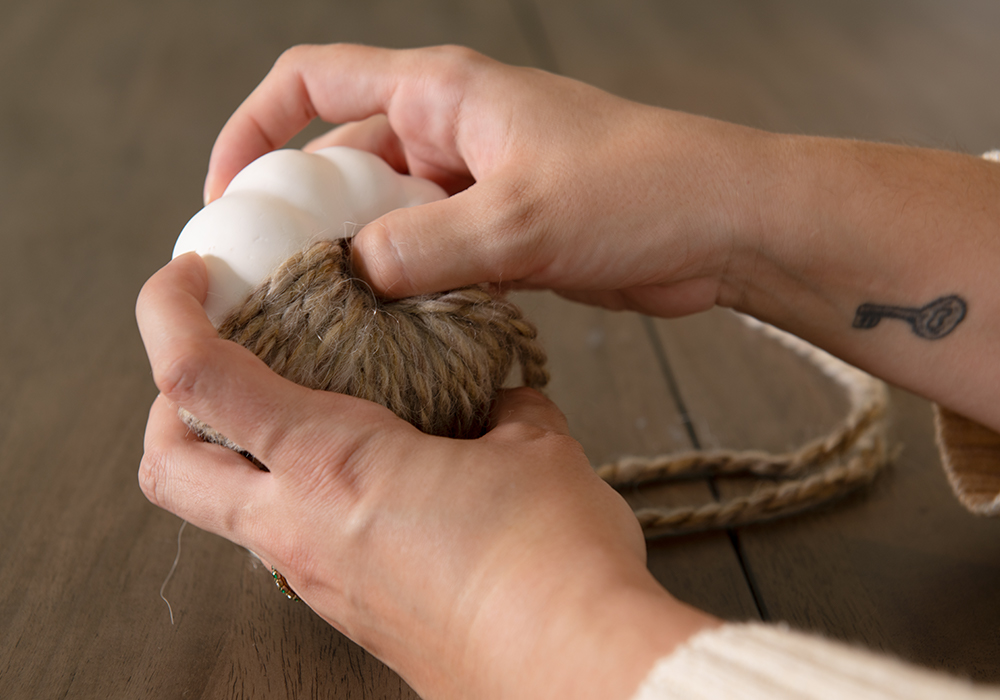
Step 3: Mummy said “That’s a wrap!”
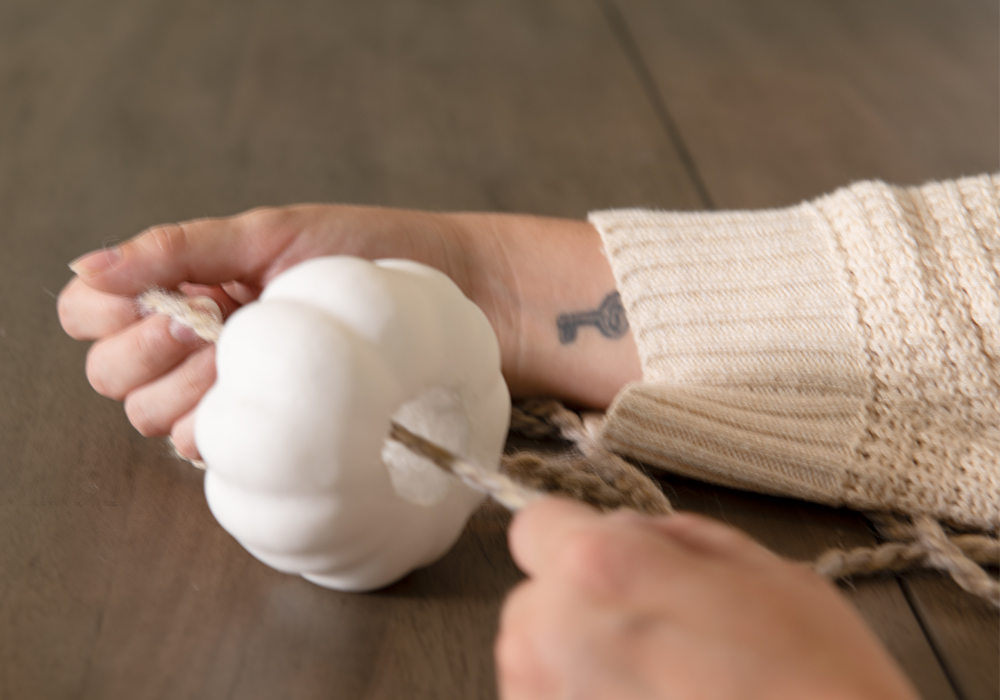
Time to make magic happen! Grab your very first strand of yarn and pull it through to the middle of the strand. Tie a knot on one end and loop around and through as many times as the length of your yarn will allow, then work from the other end over and through until your pumpkin is fully wrapped.

If you are working with a lighter weight yarn, I suggest using a plastic weaving needle to help feed it through–you’ll thank me at the end, I promise! In the event you didn’t cut enough, grab another strand and repeat the process.
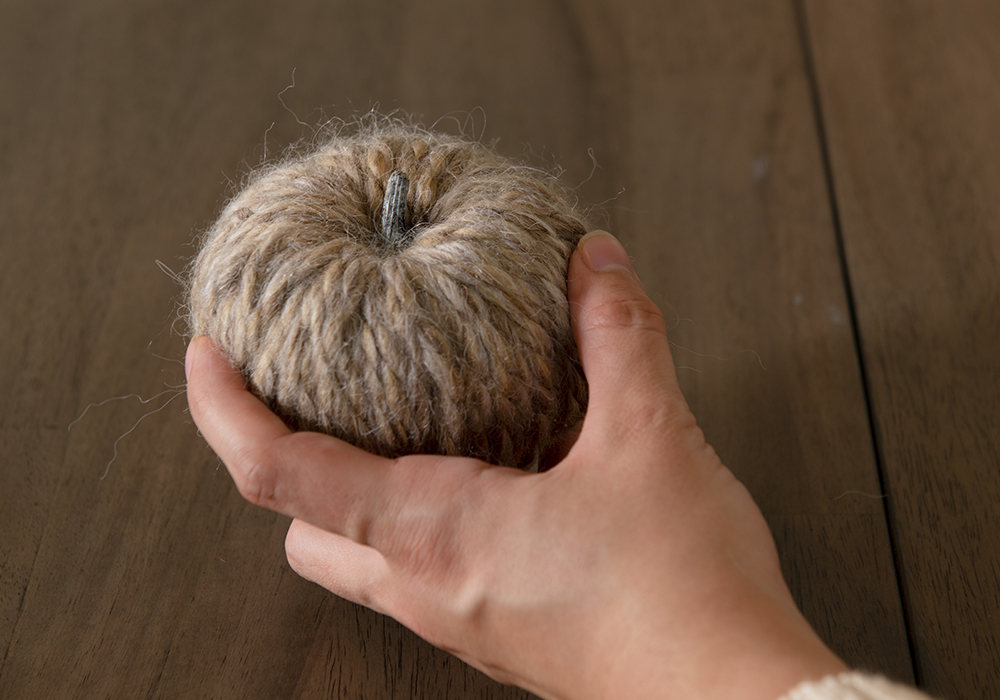
Step 4: #SquashGoals
Almost there! Gently tuck all your knots inside the pumpkin, and top it off by squeezing your stem into the center of the pumpkin. It shouldn’t need any extra reinforcement, but you can always hot glue it just to be safe! Voila! Time to spread pumpkin spice and everything nice all over your home.
Show us your pumpkins (or share your favorite halloween puns) by tagging @mybobs on our social channels!