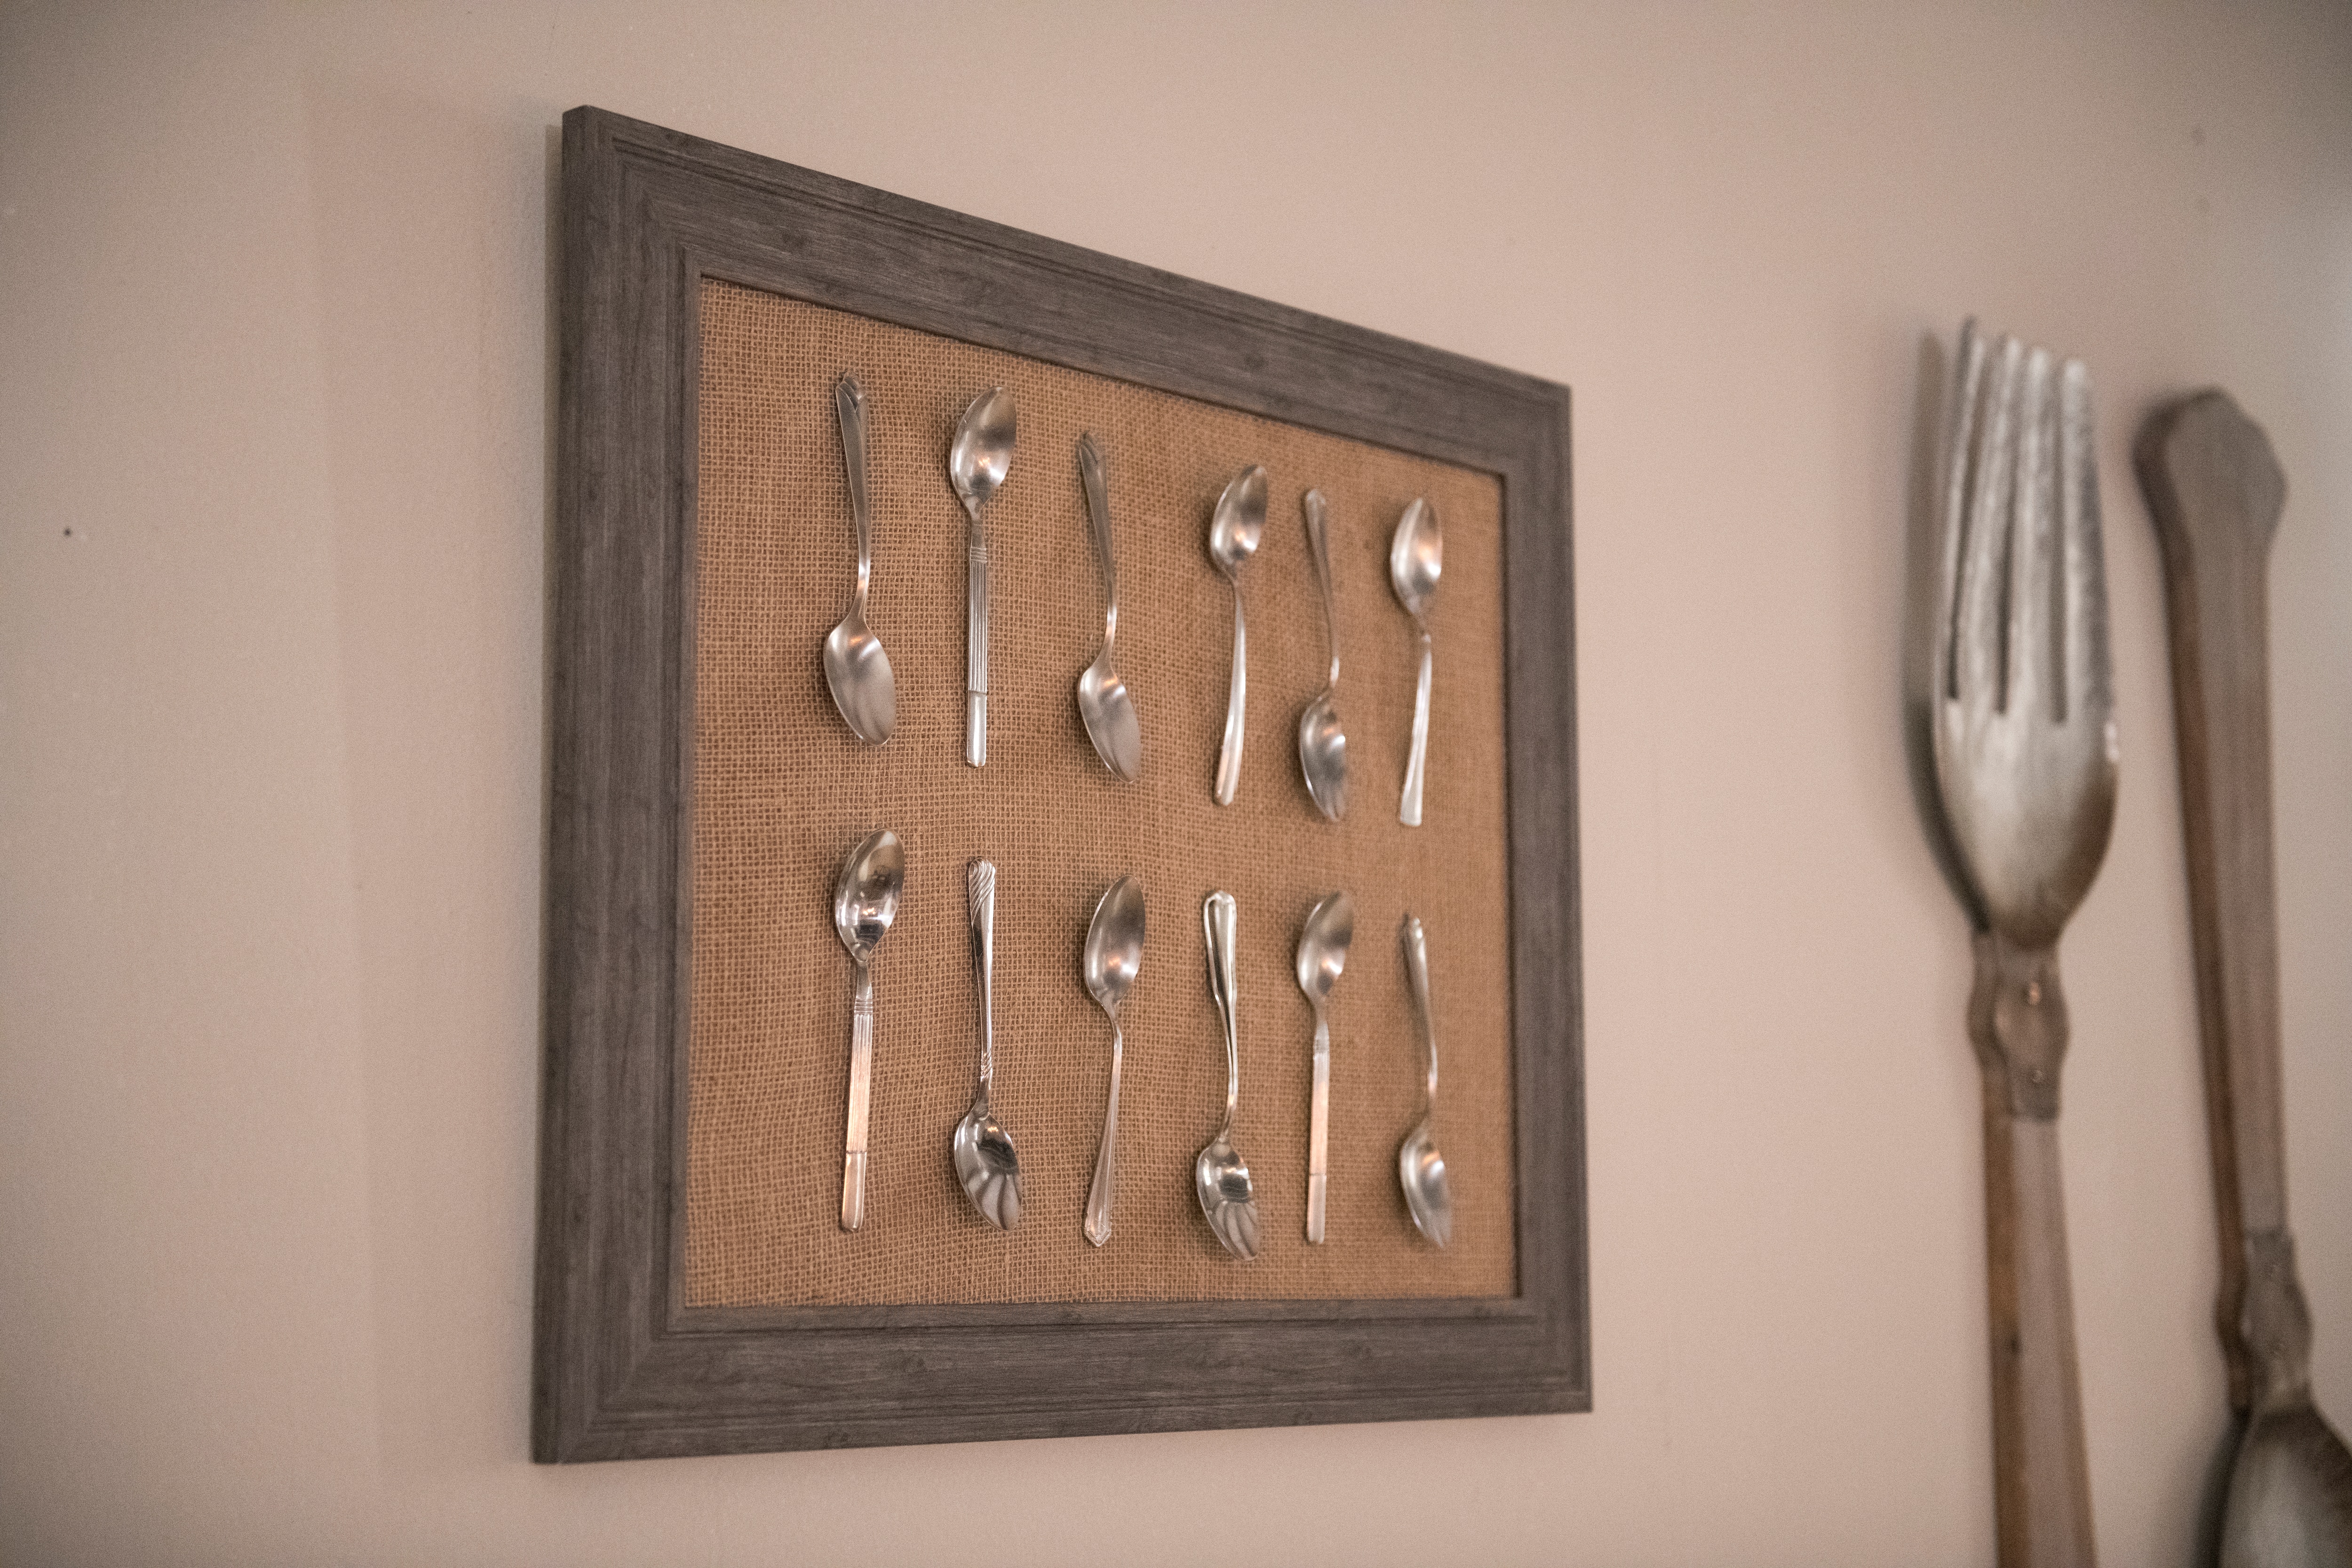
I don’t know about you, but I always tend to have extra spoons in my cutlery drawer. Most of them are too big for me to use anyway, but, instead of letting them just sit in a drawer, I have a fun and creative solution–spoon art!
Supplies Needed
· Hot Glue/Hot Glue Gun
· Scissors
· Fabric of your choice!
· Picture frame – preferably one you’re not using already

1. Dis-assemble the Frame
Take your frame and pull out the backing and glass. The backing is going to become the canvas for the cutlery to be glued onto.
Carefully discard glass since you won’t need it for this project or perhaps hold onto it in case your creativity sparks a new idea!
I suggest plugging in your glue gun in now so it has time to heat up.
2. Measure out the Fabric Needed
Roll out your fabric and roughly measure it against the canvas. You’ll want the canvas completely covered so I recommend being pretty generous here. You can easily fold the fabric over and cut any excess, it’s better to have too much than too little. Once you measure the amount you need, cut the fabric to size.

3. Layout the Fabric
Place your canvas in the center of your cut piece of fabric. This doesn’t have to be exact, but the closer the better. You can see from my example, I left an abundance of fabric around the edges and that’s ok! Like I said before, you’re better off having too much to work with than too little.

4. Glue! Glue! Glue! (Part 1 of 2)
Once you’re happy with your placement, start gluing! It’s just like wrapping a present. Make sure to pull your fabric tight so that the sides are neat and hold firmly in place for a few seconds to be sure the fabric adheres to the glue. Be careful not to burn your fingers!
Once all sides have been glued down, flip the canvas so that the fabric side is up.
5. Re-assemble the Frame
Now that your canvas is ready, pop it back into its original frame. It may take a moment but it should fit back in without issue.


6. Plan your Arrangement
Before gluing your cutlery down, roughly plan out your vision. This is your chance to try different options in order to find the one that works best! You can alternate up/down like I did, or do something completely different.

7. Glue! Glue! Glue! (Part 2 of 2)
Now that you know how you want the cutlery laid out, glue it down! (Yes, it is that easy)
Give the glue some time to dry before moving onto the last step. (5-10 minutes)


8. Hang up your Piece!
The hard work is complete! Now it’s time to find the perfect place to hang your unique masterpiece in your home. I’m thinking it would work great in a dining room or kitchen but placement is completely up to you.


Share Your Spoon Art!
I’d love to see your spoon art. Snap a pic, share it on social and make sure to tag me @mybobs for a chance to be featured in my feed.


